
Box Connector 5.3 Additional Configuration
To use Box Connector in a Mule app, configure a global Box configuration element to use by as many Box connectors as needed for your application.
Configure the Box Connector Global Element
-
Click the Global Elements tab at the base of the canvas.
-
In the Global Configuration Elements screen, click Create.
-
In the Choose Global Type wizard, expand Connector Configuration and select Mule-box-connector Config and click OK.
In the configuration screen forOAUTH 2.0with Authorization Code, grant type displays. This is the only configuration that Box Connector supports. -
Configure the properties as described here.
Parameter Description clientIdSpecifies the client identifier as assigned by the authorization server when the client application was registered.
clientSecretSpecifies the client application’s client secret.
hostThe host where Box exposes its API.
portThe port where Box services listen for incoming requests. Default: 443
basePathThe base path for the Box services' base URI.
protocolThe protocol which Box services follow. Default: HTTPS
localCallbackPathThe local callback path. Default: /callback
localCallbackConfigThe HTTP Listener configuration that is used to configure the local authorization URL.
externalCallbackUrlThe redirect URL that is configured in the client application.
localAuthorizationUrlLocal authorization URL that is used to initiate an
OAuth2dance.authorizationUrlThe authorization URL to request for an authorization code.
accessTokenUrlSpecifies the URL for requesting an access token.
In the
OAUTH 2.0configuration screen, the placeholder values refer to a configuration filemule-artifact.propertiesplaced in thesrc/main/resourcesfolder of your project.You can either enter your credentials into the global configuration properties, or reference a configuration file that contains these values.
Use a configuration file for simpler maintenance and better reusability of your project. Keeping these values in a separate file is useful if you need to deploy to different environments where your access credentials are different, such as production, development, and QA. -
Click OK.
JWT Authentication
Authenticate your application directly to Box using a JSON Web Token (JWT).
The following steps describe how to configure Box Connector using JWT:
Create an App
-
Go to the Developer Console.
-
Select Create New App.
-
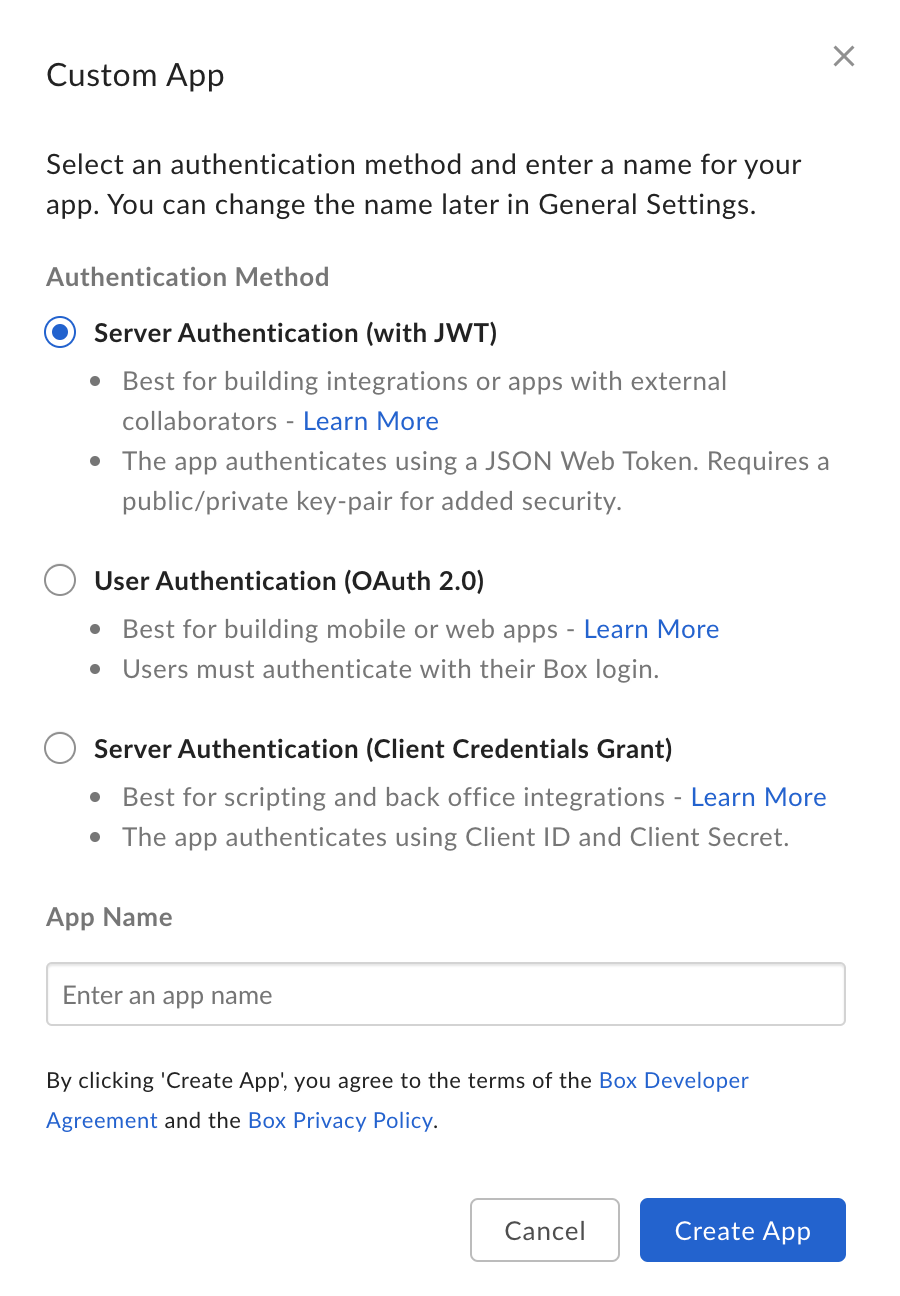
Select Custom App for the type of application.
-
Select Server Authentication (with JWT) for the type of authentication.
-
Provide a name for the application.
-
Click Create App.
Generate a Keypair
-
Download KeyStore Explorer.
-
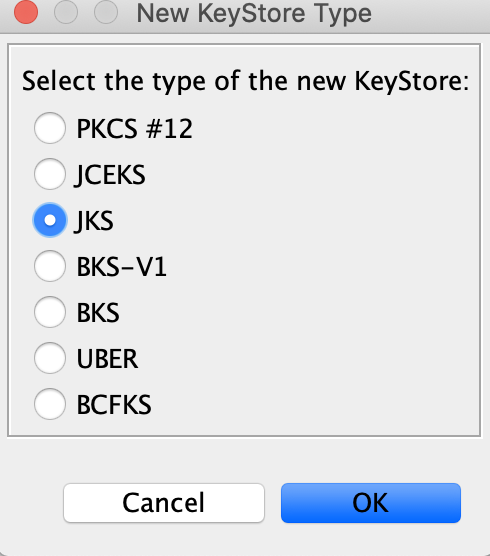
Open the application and select Create a new KeyStore.
-
Select JKS.
-
Click OK.
-
Click Save.
-
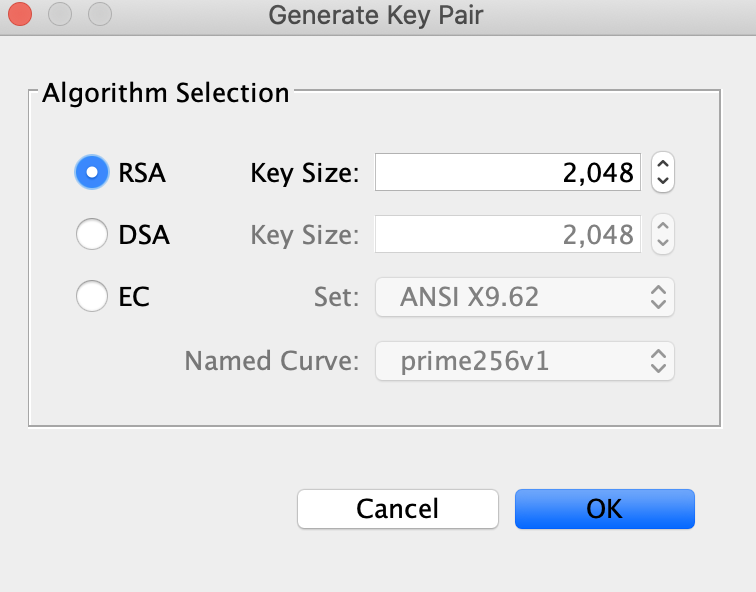
Click on Tools and select Generate Key Pair.
-
Select RSA with a key size of 2048.
-
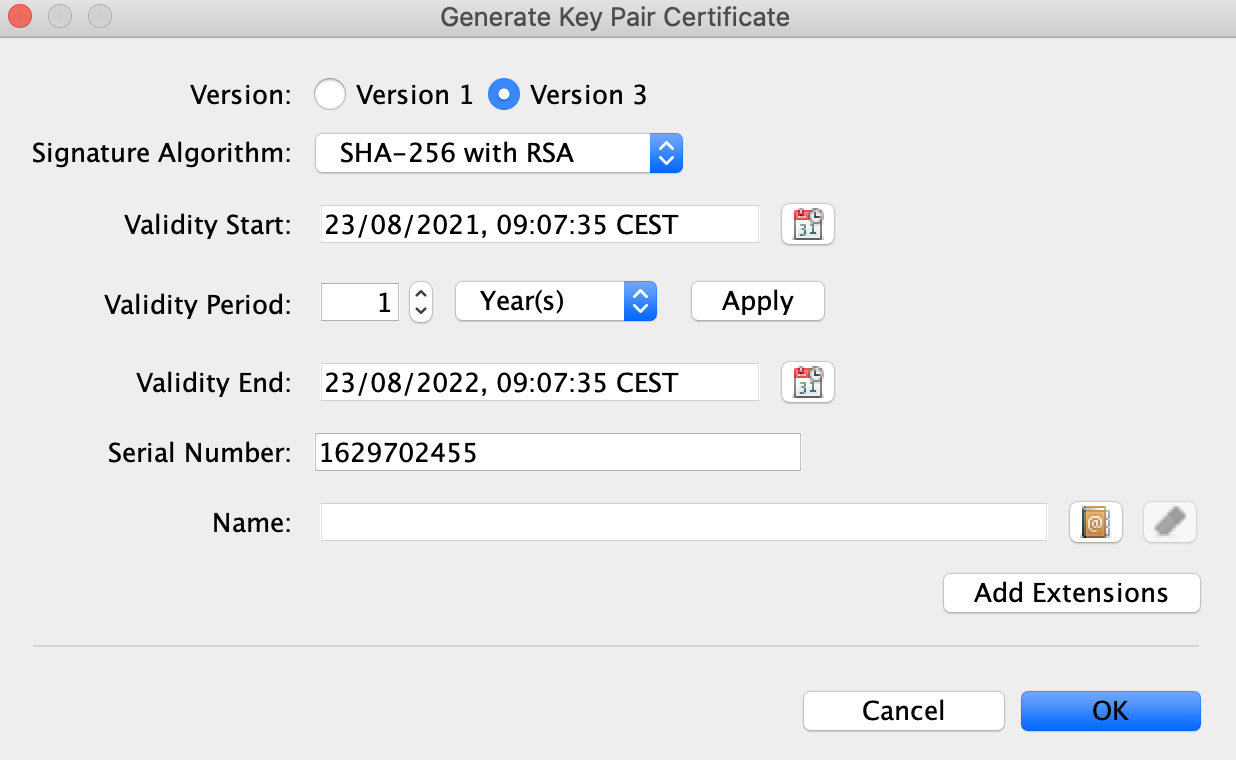
Click OK to prompt the Generate Key Pair Certificate dialog box to appear.
-
Accept the default settings.
-
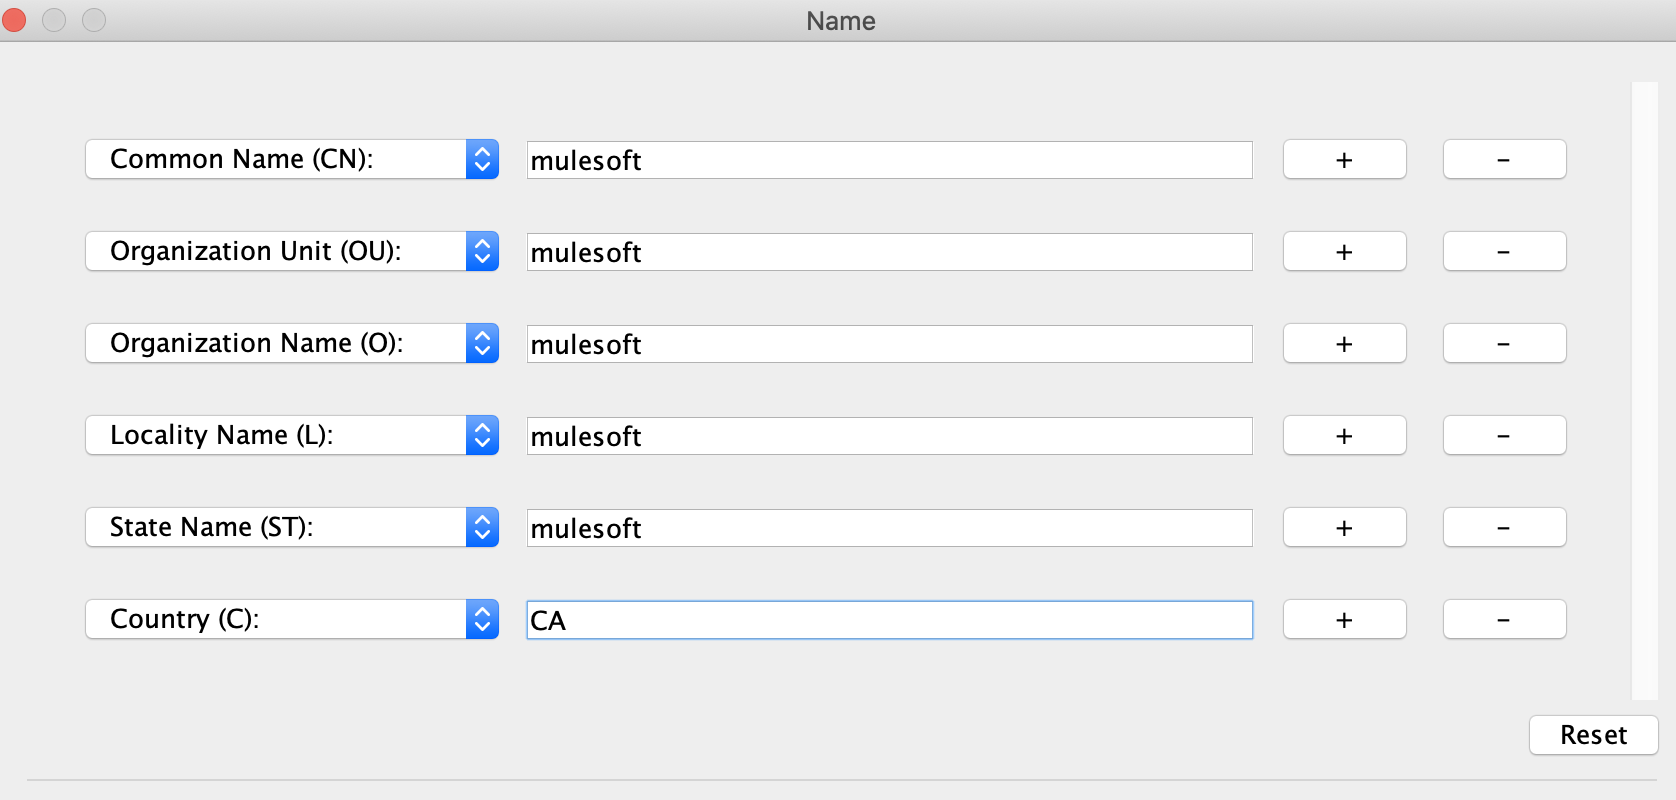
Click on the Name icon and add the following information:
-
Common Name (CN): mulesoft
-
Organization Unit (OU): mulesoft
-
Organization Name (O): mulesoft
-
Locality Name (L): mulesoft
-
State Name (ST): mulesoft
-
Country (C): CA
-
-
Click OK.
-
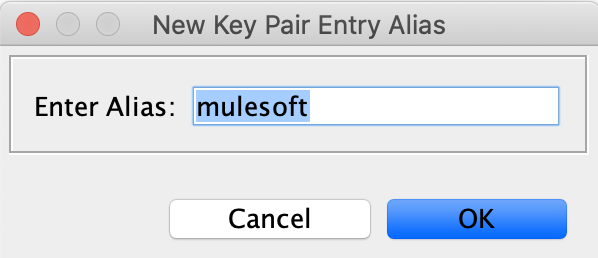
Click Save to prompt the New Key Pair Entry Alias dialog box to appear.
-
Enter mulesoft as the alias.
-
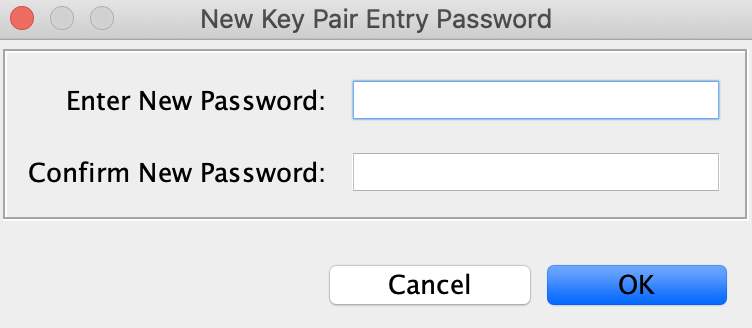
Click OK to prompt the New Key Pair Entry Password dialog box to appear.
-
Enter a new password.
-
Click OK to successfully generate your keypair.
Export and Add the Public Key
-
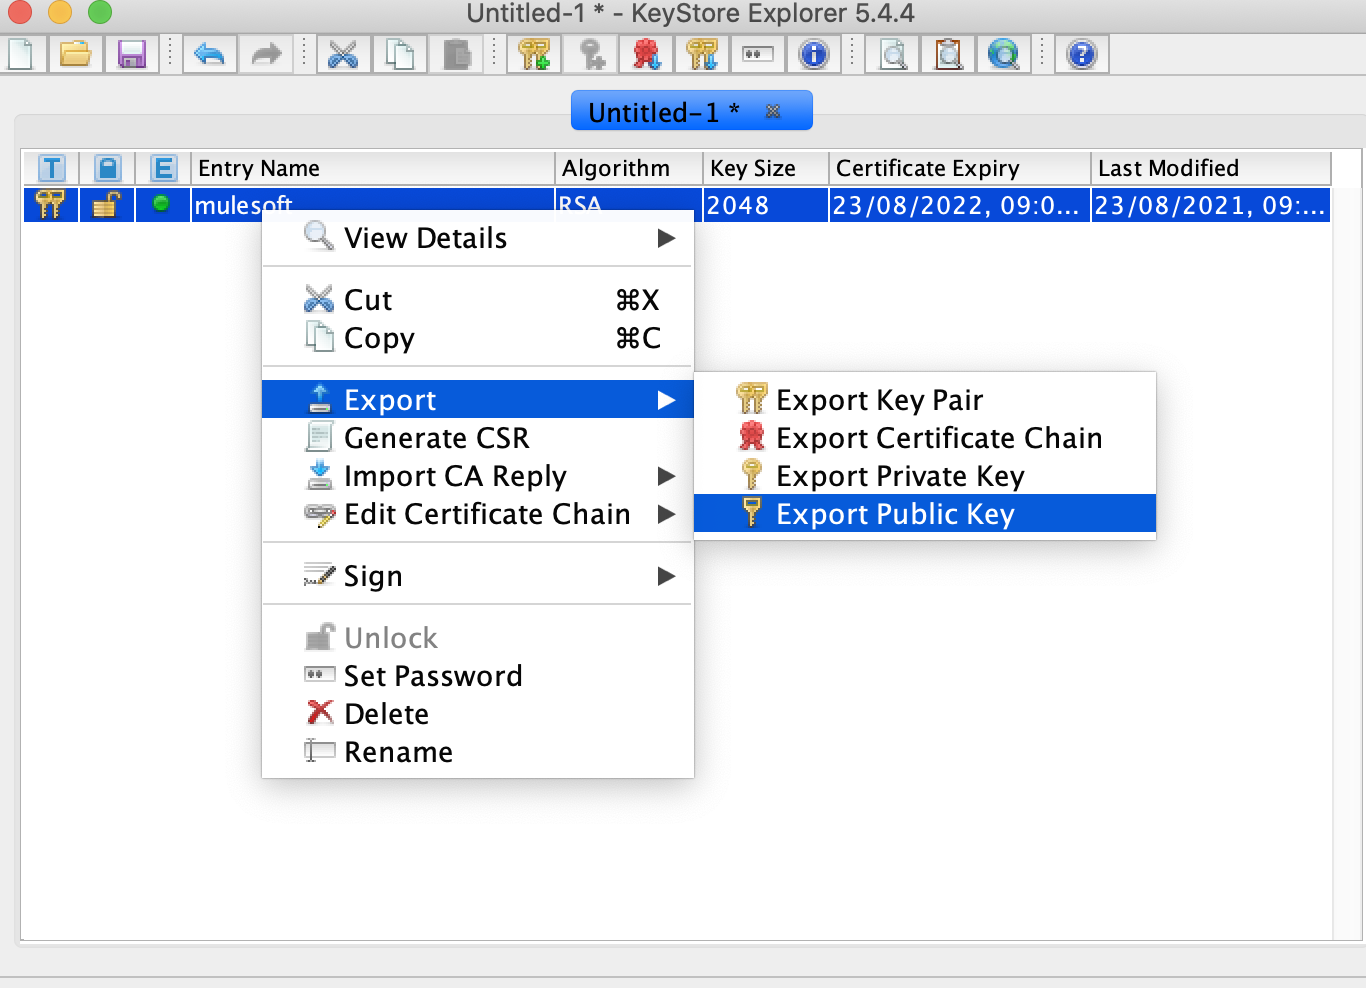
Right-click on the generated keypair and navigate to Export > Export Public Key.
-
Save your keystore and set a password.
-
Open the exported public key in the editor and copy all the content.
-
Go to the Developer Console.
-
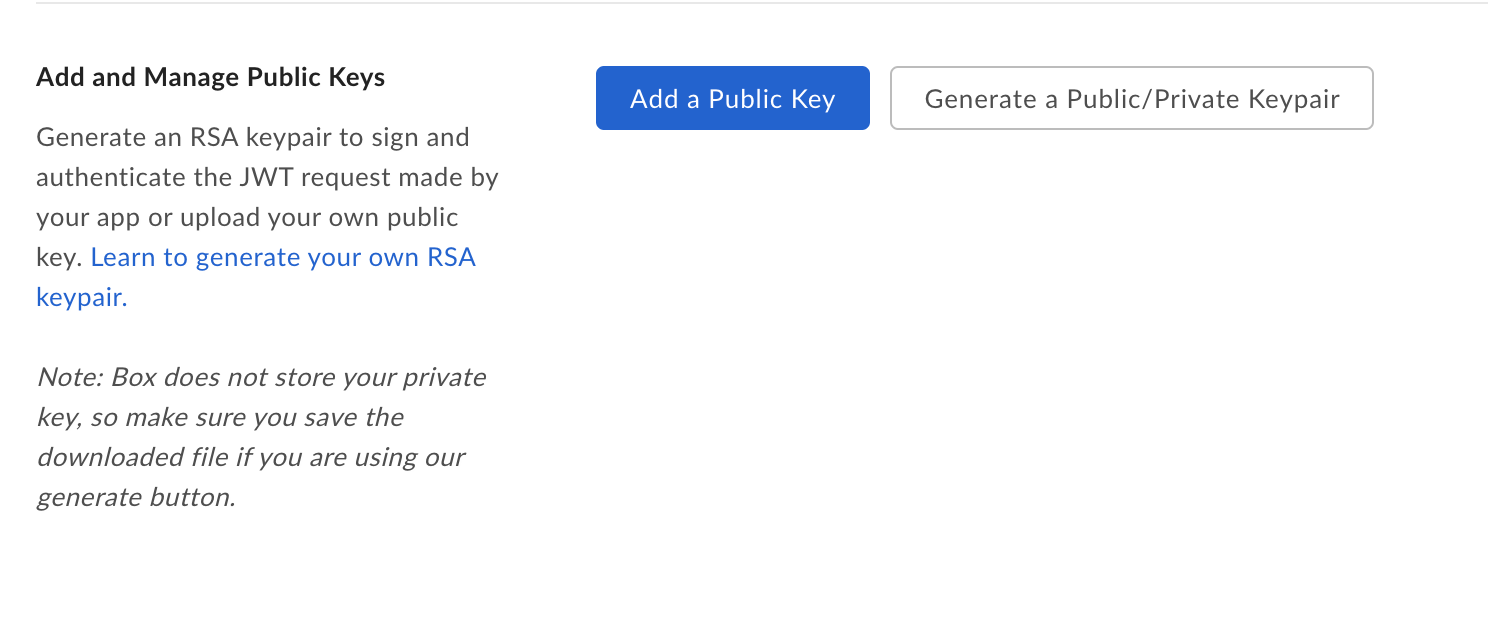
Go to the Configuration tab and scroll down to the Add and Manage Public Keys section.
-
Click Add a Public Key and paste all the copied content.
-
Click Verify and Save.
-
After successful verification, you will receive the Public key id.
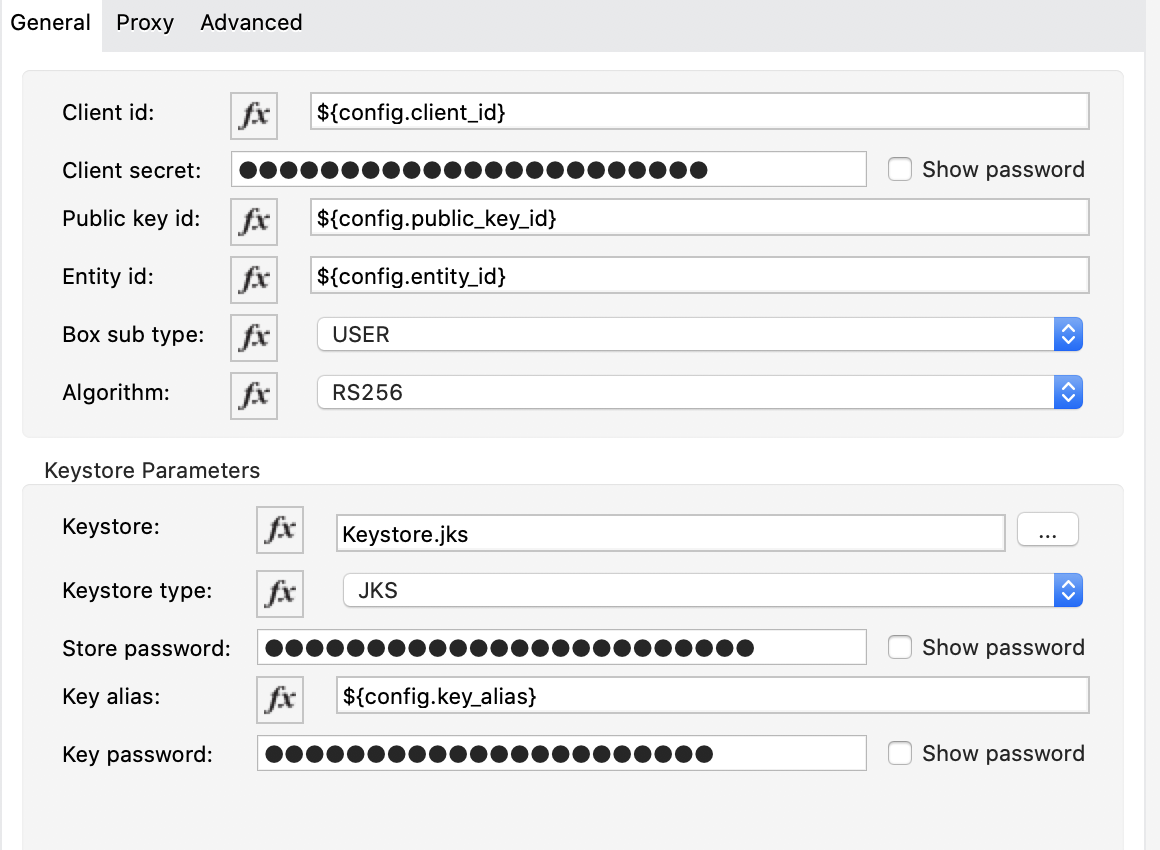
You can also find other properties that depend on your application, such as Entity id and Box sub type, in the Developer Console on the General Settings tab in the App Info section and add them to the Studio configuration.
Next
Now that you have completed configuration, you can try out the Box Connector Examples.