Deploying Mule Apps to CloudHub and CloudHub 2.0
 Cloud IDE
 Desktop IDE
You can use Anypoint Code Builder to deploy your Mule application to CloudHub.
Deploy an App to CloudHub or CloudHub 2.0
When you deploy an application to CloudHub or CloudHub 2.0, Anypoint Code Builder configures a default deploy.json or deploy_ch2.json file in your src/main/resources directory.
If you intend to configure properties at deployment time, for example,
to create secure properties, Anypoint Code Builder prompts you to modify deploy.json or deploy_ch2.json during the deployment process.
|
For CloudHub 2.0 deployments, you must update your
|
To deploy your app to CloudHub or CloudHub 2.0:
-
Open any configuration XML file for the Mule app to deploy.
-
Click the
 (Deploy to CloudHub) icon.
Alternatively, open the Command Palette and select
MuleSoft: Deploy to CloudHub. -
If prompted, click Allow to allow sign in using Anypoint Platform and select the business group.
-
Select a Business Group to use for deployment.
-
When prompted via the VS Code command palette, select the deployment target: CloudHub 2.0 or CloudHub 1.0.
If you select CloudHub 2.0, you are prompted to select the space to deploy your application, for example: “myprivspace”.
If the project doesn’t already have a
deploy.jsonordeploy_ch2.jsonfile, Anypoint Code Builder indicates that a deployment configuration file has been created and opens it for you to review, for example: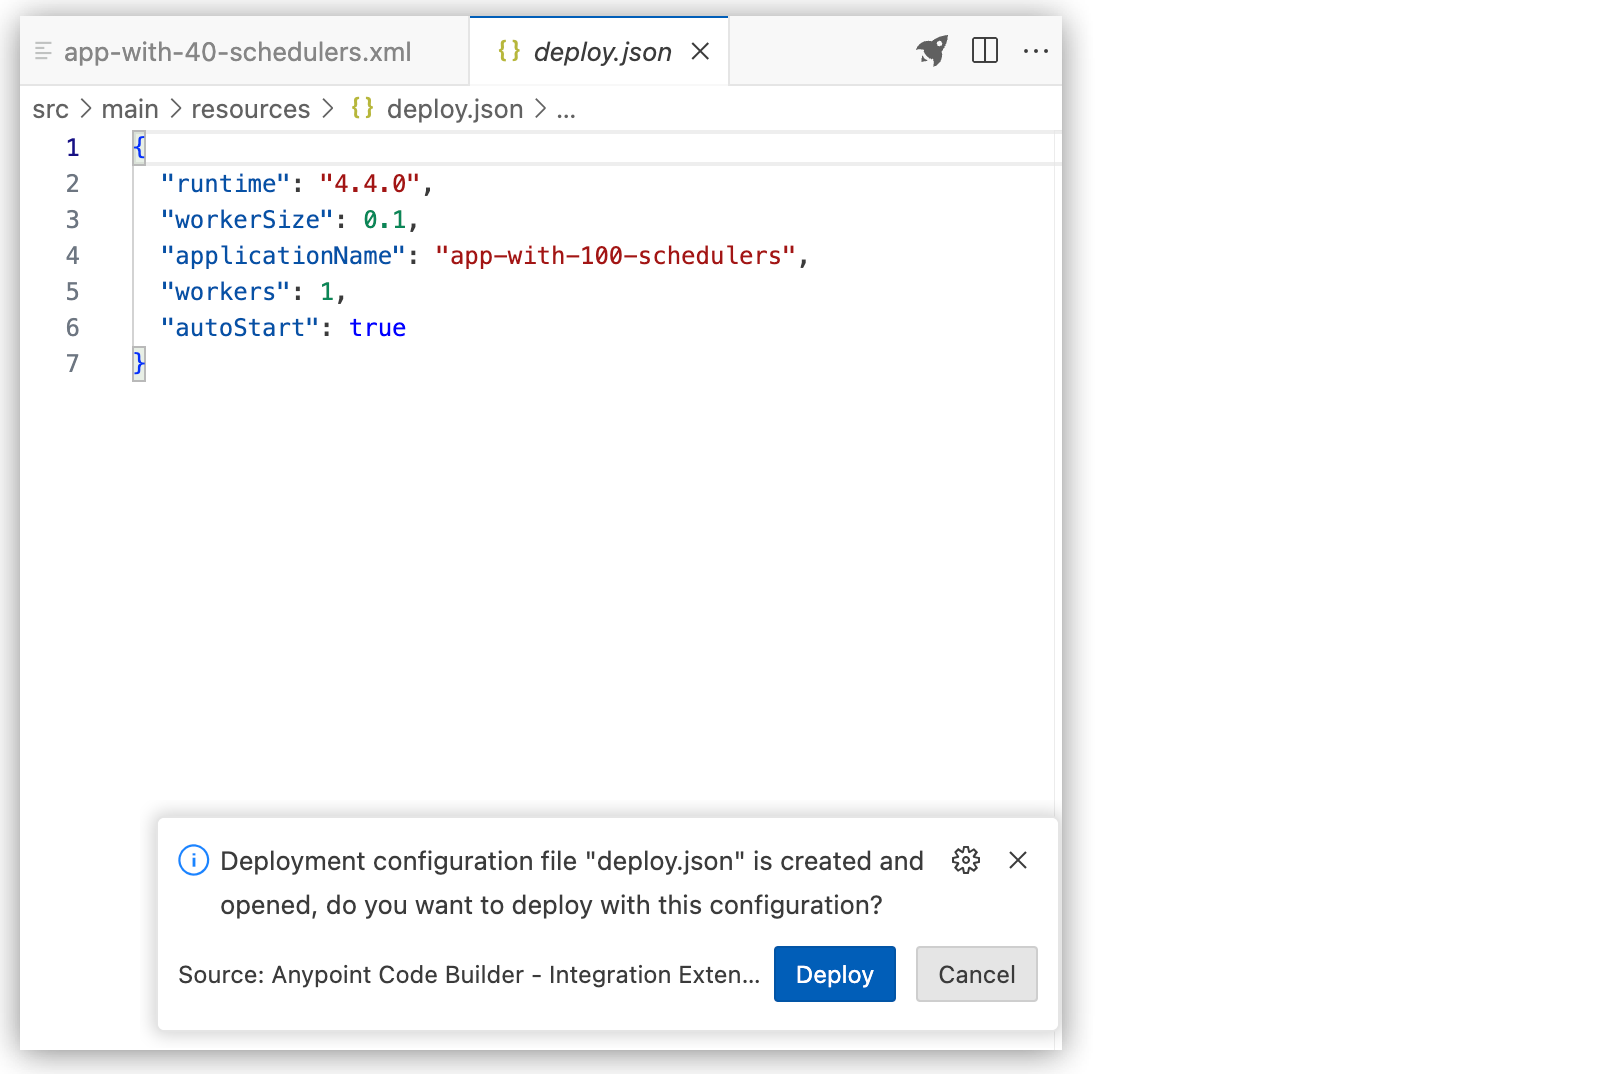
For applications deployed to CloudHub 2.0, ensure that the deploy_ch2.json file contains the value for the deployment model. You can set this to the default value of rolling.
The
applicationNameproperty defines part of the URL that you use to access your application on CloudHub.This name must be unique across all applications deployed to CloudHub.
-
After reviewing the deployment configuration, click Deploy to deploy the application to CloudHub or CloudHub 2.0. The VS Code status bar shows the progress of the deployment.
-
At the prompt, select the environment to deploy to.
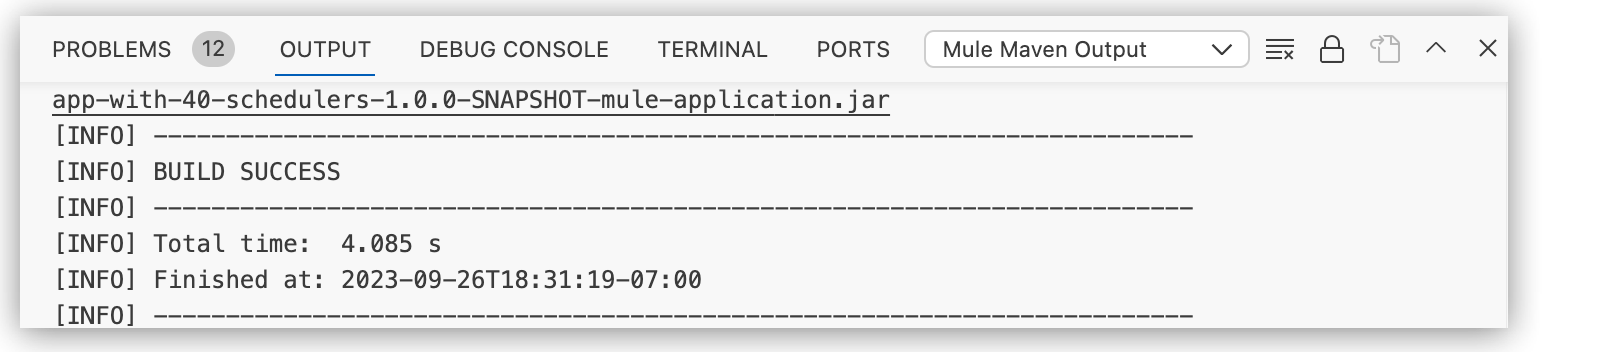
Anypoint Code Builder packages the application and deploys it to CloudHub or CloudHub 2.0. The Output panel opens with Mule Maven Output selected:
-
After deployment completes, click Open in Runtime Manager.
Your app opens in Runtime Manager in Anypoint Platform.
The domain name of the application varies, but it follows a similar structure such as:
app-with-40-schedulers.us-w1.cloudhub.io. -
Open your preferred REST client and make a GET request to the domain name as displayed in Runtime Manager, for example,
http://app-with-100-schedulers.us-w1.cloudhub.io/api/flights.
Change a Value in deploy.json
Use auto-complete to select a preconfigured value in deploy.json or deploy_ch2.json.
-
Open
deploy.jsonordeploy_ch2.jsonfrom the Explorer.The file is located in the project’s
src/main/resourcesdirectory. The file opens to a deploy.json or deploy.json_ch2 tab in the IDE. -
In
deploy.jsonordeploy_ch2.json, highlight the value to update. -
Press Ctrl+Space.
-
Select a different value.
Deployment Properties
The deploy.json and deploy_ch2.json files contain the following properties for deployments of Mule applications to CloudHub and CloudHub 2.0, respectively, from Anypoint Code Builder.
| Property | Description | Host |
|---|---|---|
|
Provides the Mule runtime version used by the project. |
CloudHub or CloudHub 2.0 |
|
Sets the worker memory relative to a single worker or a number of available workers. The default is |
CloudHub |
|
Sets the replica specific amount of memory capacity and processing power. The default value is |
CloudHub 2.0 |
|
Provides the hyphenated, lowercase name of the Mule application. |
CloudHub or CloudHub 2.0 |
|
Sets the number of Mule runtime instances for running this Mule application. The default is |
CloudHub |
|
Sets dedicated instances of Mule runtime engine for running this Mule application. The default is |
CloudHub |
|
Indicates whether to start the application automatically after the deployment process completes. The default value is |
CloudHub or CloudHub 2.0 |
|
Indicates the model by which you want the replicas of your application to be updated or redeployed. The default value is |
CloudHub 2.0 |
|
Indicates whether Object Store v2 is enabled for this application. The default value is |
CloudHub or CloudHub 2.0 |