
Configure Slack Integration
With your email and Salesforce integration complete, you can now configure your Slack integration to send a Slack message for a new case that is not escalated.
Before You Begin
Complete these procedures:
-
Integrate Salesforce Data into Slack and Email Notifications.
-
Create a Configuration File for Slack and Salesforce and configure your Salesforce integration.
Add a Slack Action
-
In Anypoint Code Builder, open your
new-case-salesforce.xmlfile and delete Temporary Logger from the Not Escalated route of the Choice router: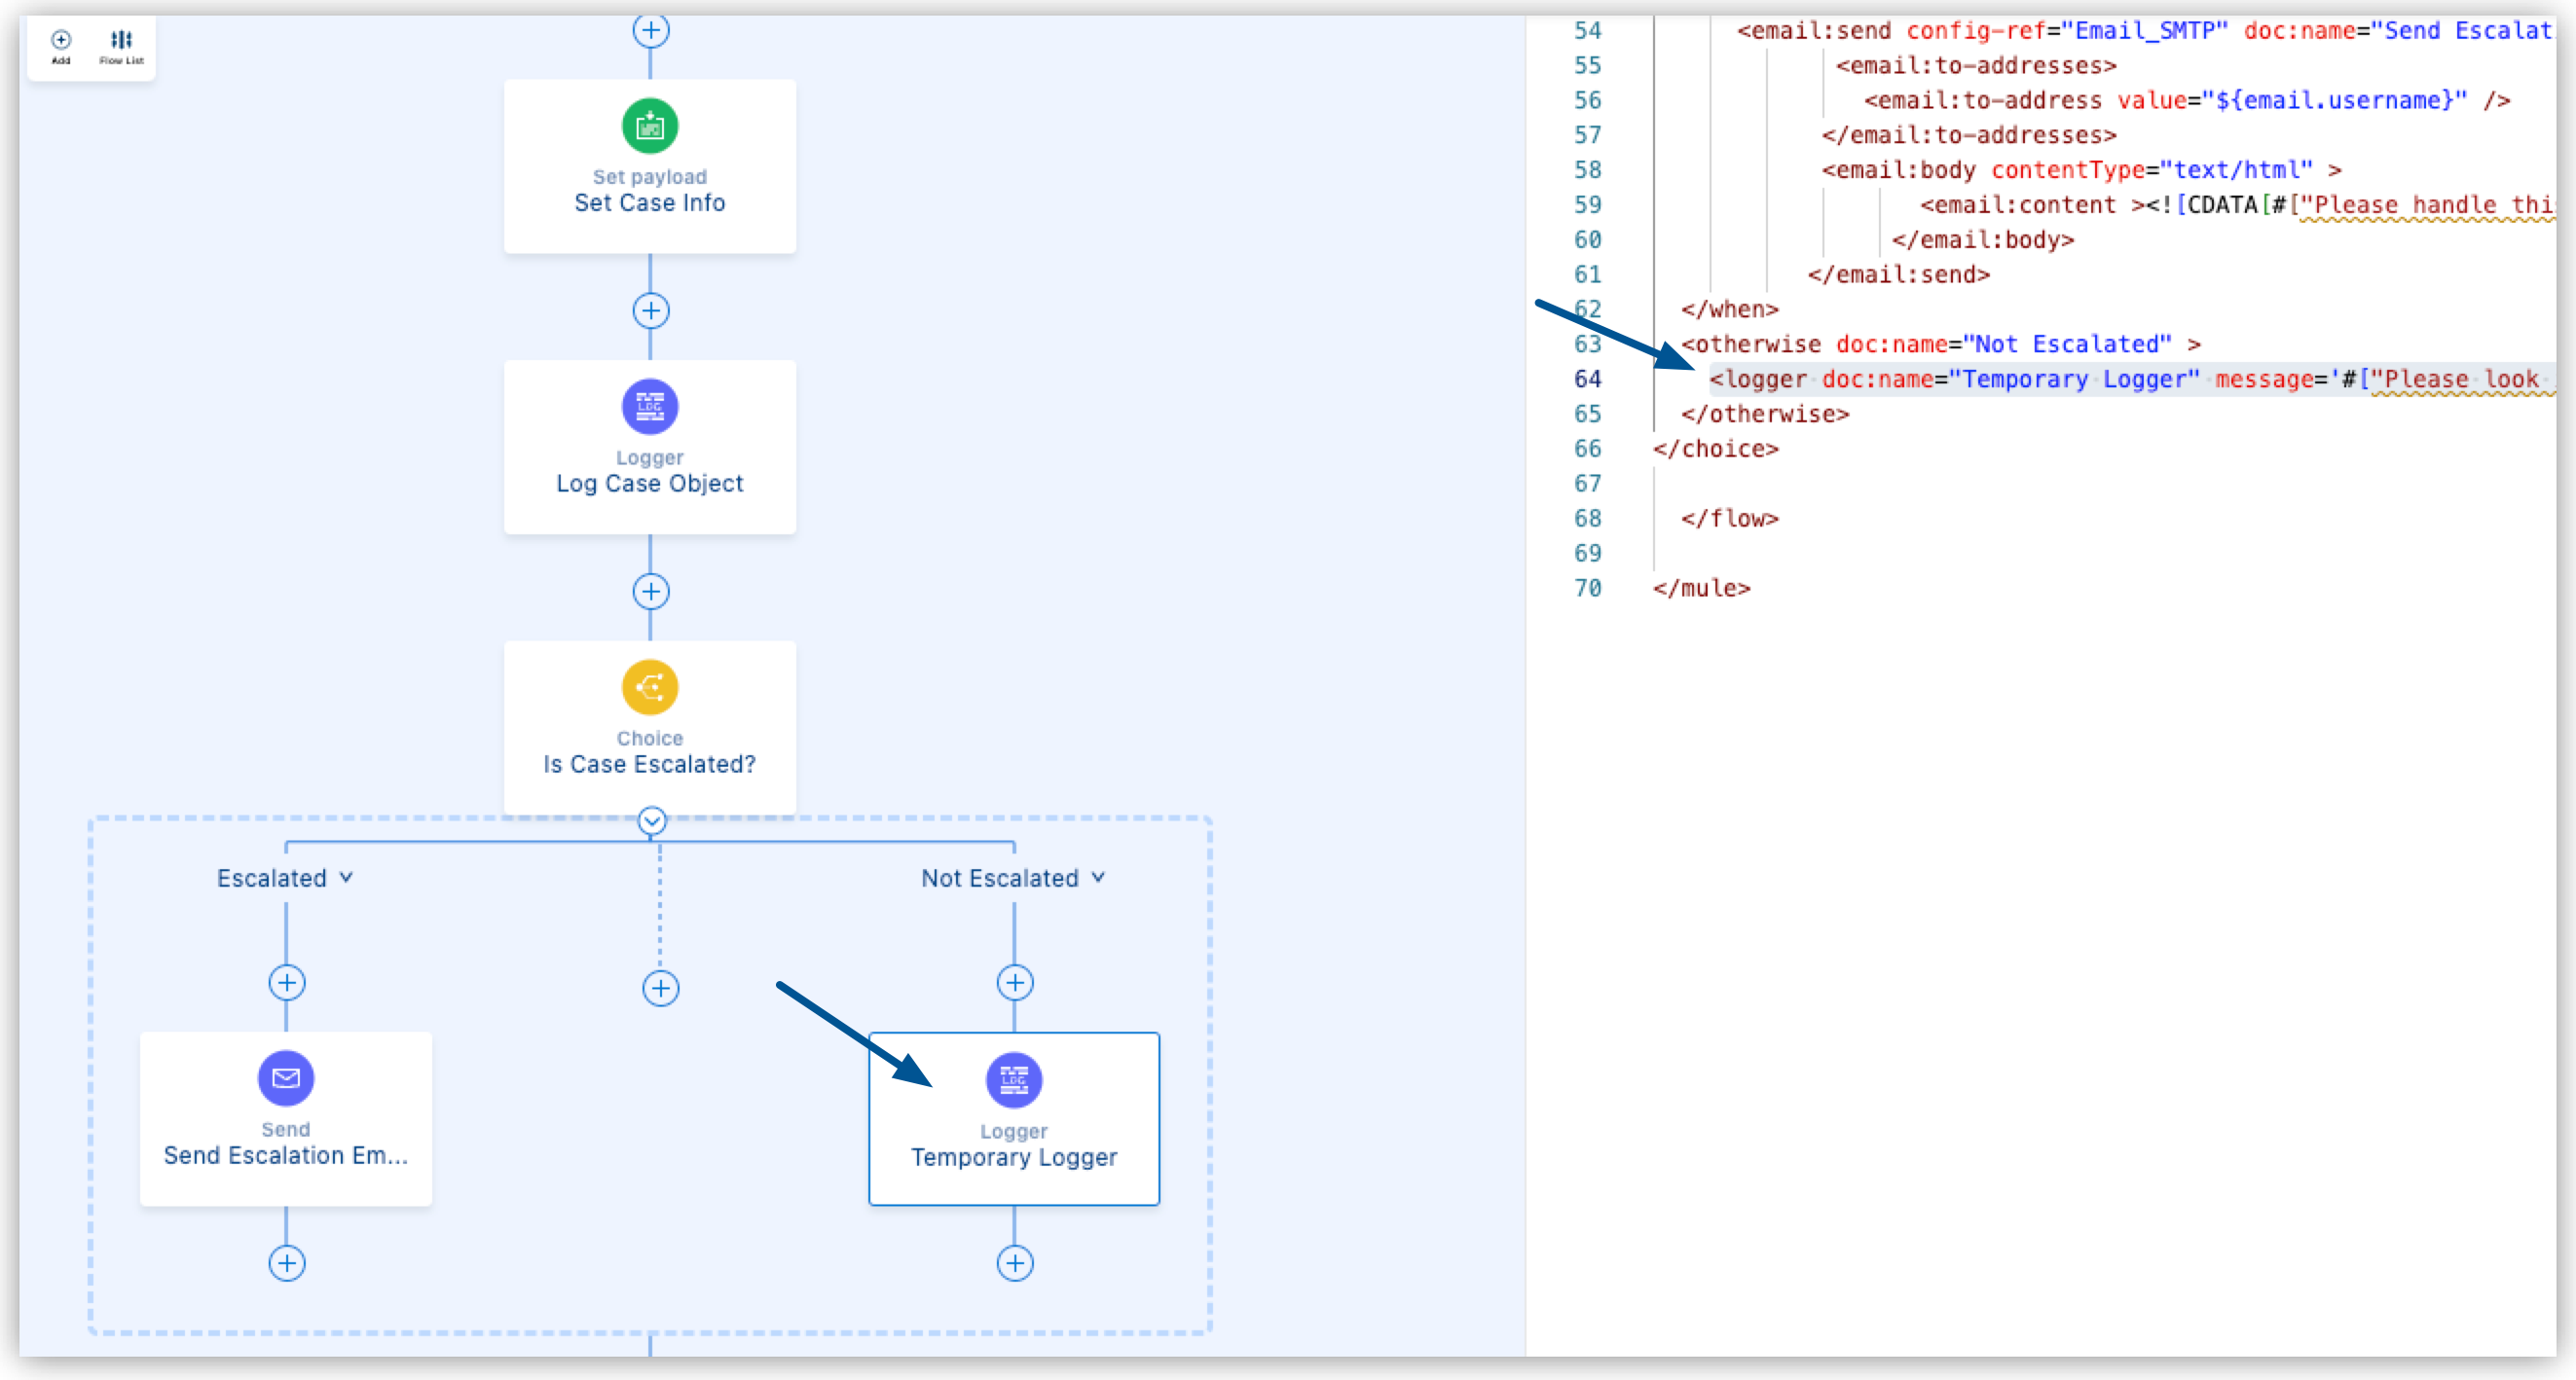
<logger doc:name="Temporary Logger" message='#["Please look into this new Case: " ++ payload]'/> -
Click the
 (Add component) icon after the Not Escalated route of the Choice router: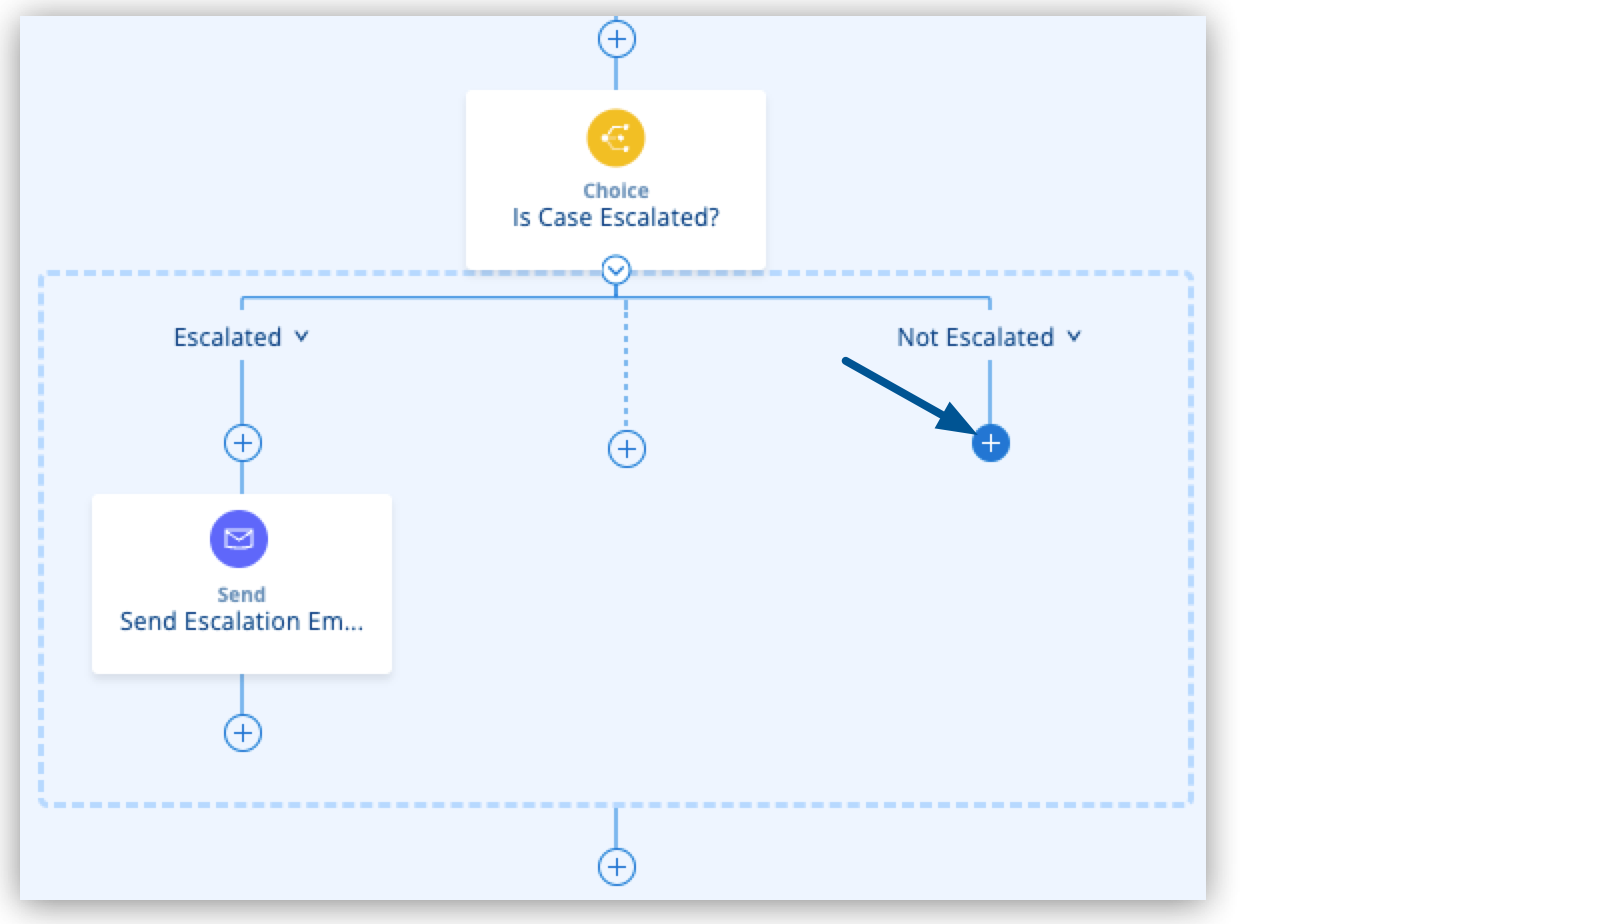
-
Click the
 (Search in Exchange) icon, type
 Slack, and select Slack Connector: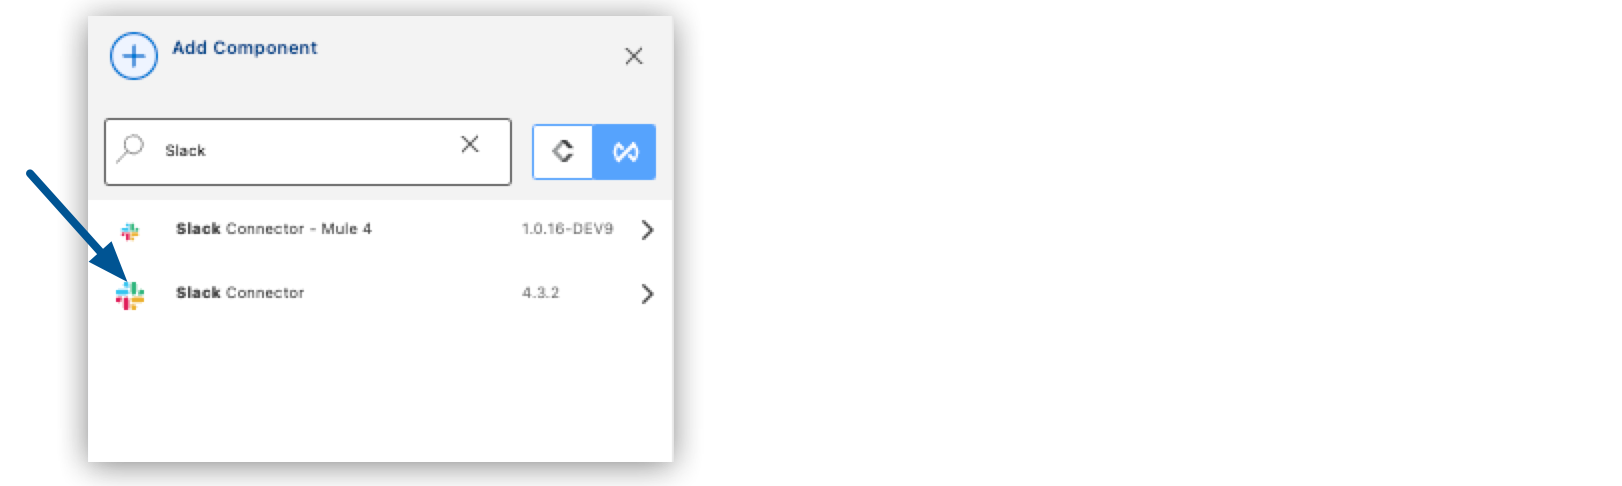
-
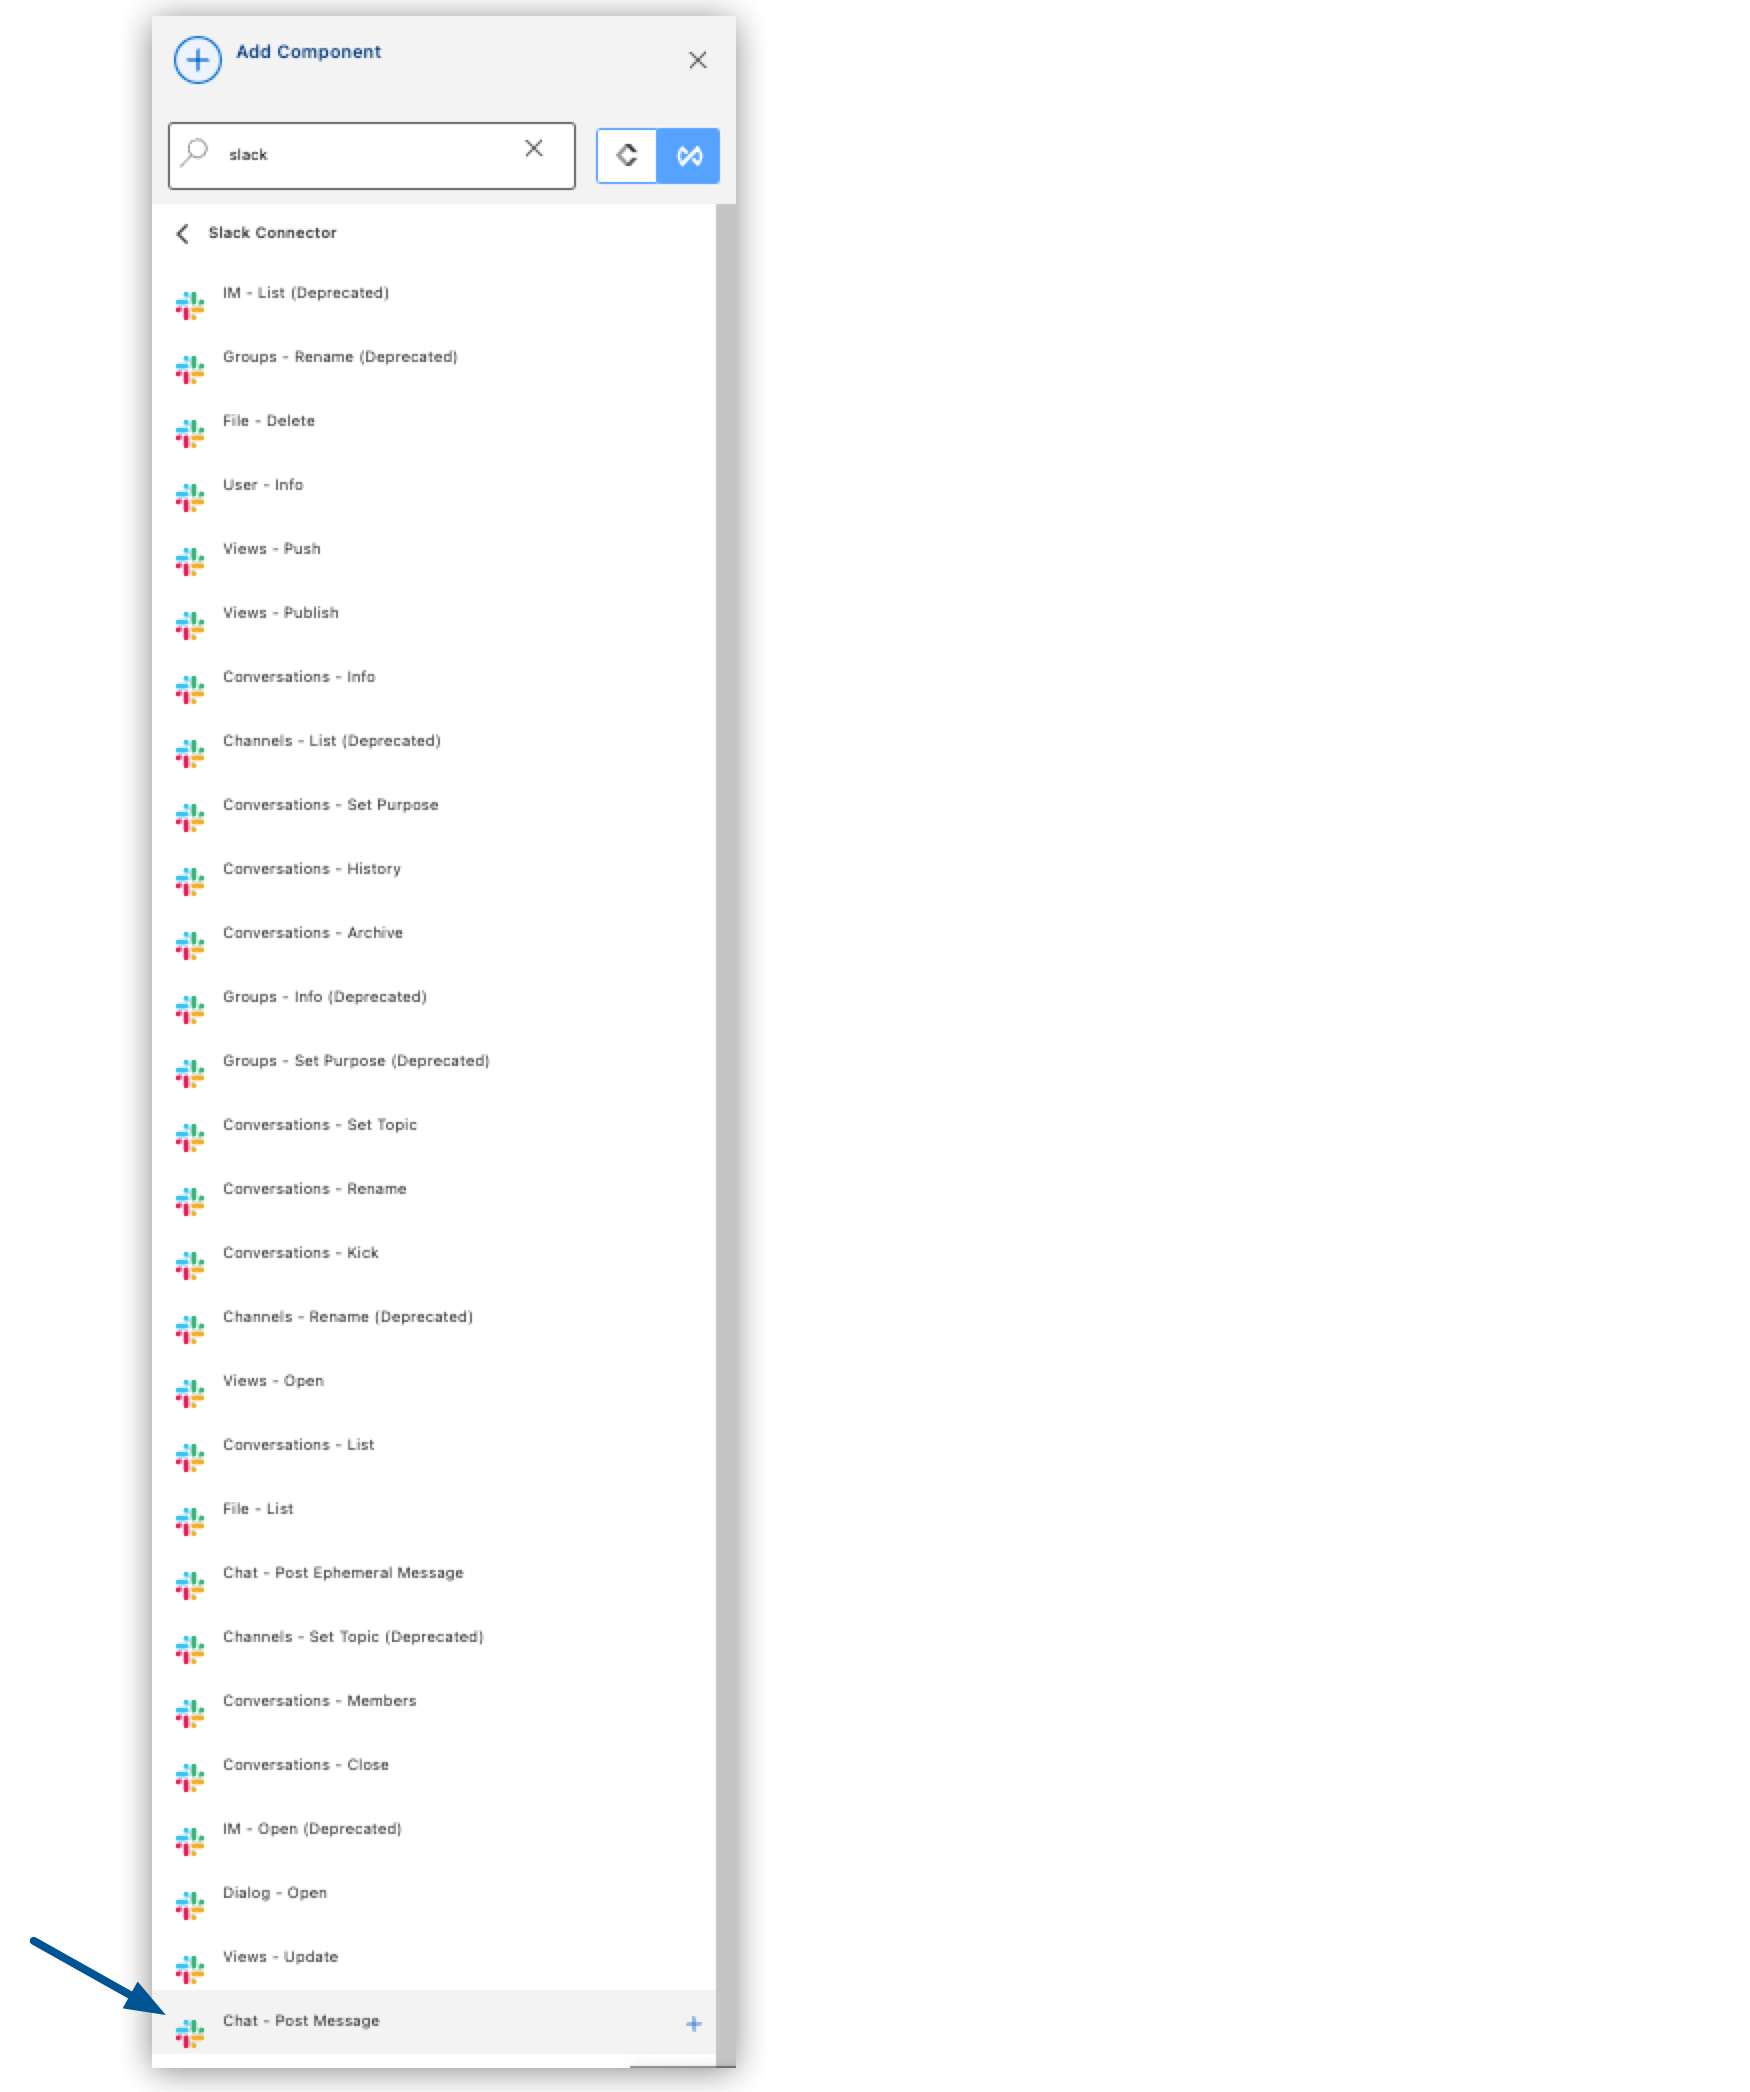
Select the Chat: Post Message operation from the Slack section:
-
Configure the Slack operation using the following code sample:
<slack:post-message channel="this-is-a-test" config-ref="Slack_Config" doc:name="Send Case to Slack"> (1)
  <slack:message ><![CDATA[#["Please handle this case. " ++ payload]]]></slack:message>
</slack:post-message>
1 Set the channelfield to the channel name that you set earlier in the tutorial.
Configure the Slack Connection
-
In Anypoint Code Builder, open your
new-case-salesforce.xmlfile, and add a new line under your<email:smtp-config/>element. -
Type
slack:and select slack:config. -
Add the following configuration to your
<slack:config/>element:<slack:config name="Slack_Config" doc:name="Slack Config"> <slack:token-connection token="${slack.token}" /> </slack:config>
Test Your Mule Application
-
To expedite the test, remove the breakpoint next to your Logger component.
-
Select Run > Start Debugging (F5).
-
After your application deploys successfully, log in to your Salesforce account.
-
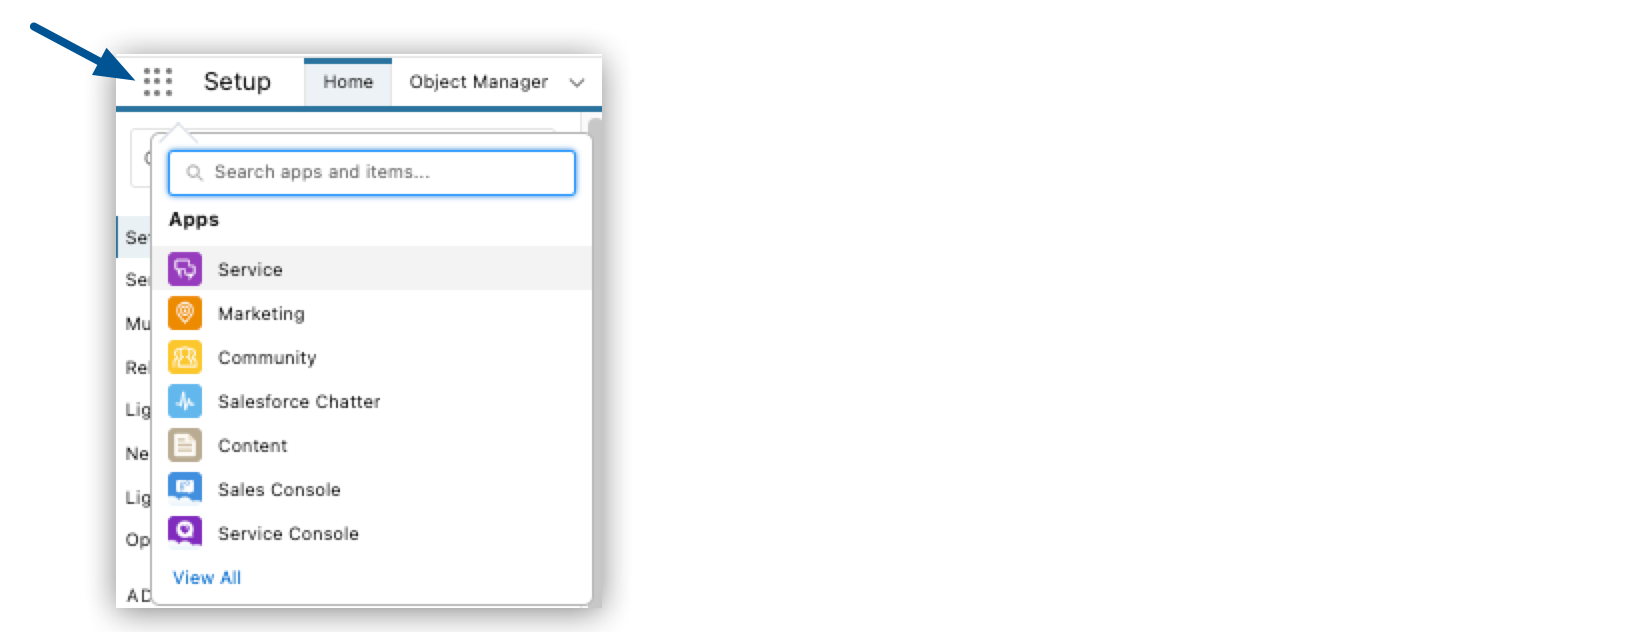
From App Launcher, select Service:
-
Select Cases > New Case:

-
Ensure that the Status of the new case is New.
-
After a few seconds, ensure that your configured Slack channel received a message with the information configured in the case:
Please handle this case. Case Number: 00001030, Origin: Phone, Case Type: , Priority: Medium, Status: New